
Coat of Arms Floor Medallions: A DIY Guide
How to make a coat of arms floor medallion: simplify the arms so they read as an inlay, pick tile, wood or stone, then cut, set and seal it. Free templates.
By the Coat of Arms Creator team
A coat of arms floor medallion is an inlay set into a floor that shows your arms in cut tile, stone or wood instead of paint. A DIY floor medallion coat of arms is within reach at home if you simplify the design first, cut each color from sheet material, then set and seal the panel level with the floor around it.
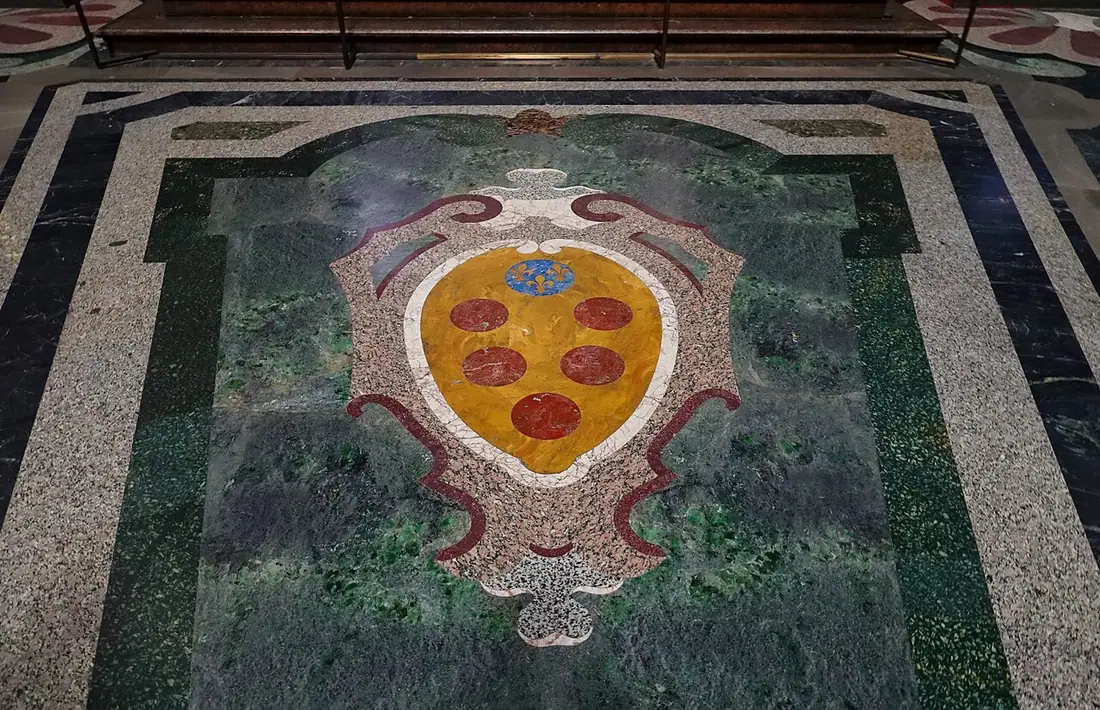
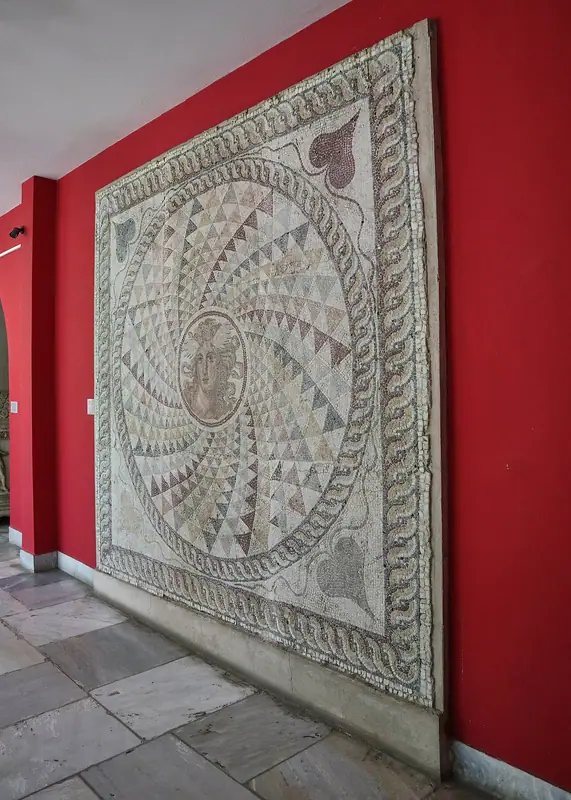
The floor work is the easy half. The drawing is where most of these projects fail, because every line in the design has to become a cut edge.
What is a coat of arms floor medallion?
A floor medallion is a decorative panel built into a floor, usually round or shield shaped, centered in an entry hall, foyer or stair landing. In a heraldic one, each tincture is a separate piece of material cut to shape and fitted to its neighbors.
Sizes follow the room, not a standard. A panel that reads clearly from the front door usually needs to be a few feet across, and under about two feet the fine shapes start to disappear.
Heraldry suits this format better than most art does. It was built for flat silhouettes and strong contrast so a shield could be read across a field, which is close to what a floor has to do. What is heraldry covers that background.
Designing arms that still read as an inlay
Start with the division, not the charges
A divided field hands you the medallion’s structure for free. Per pale, per fess, per chevron and quarterly all become clean straight joints between two materials. The heraldic divisions guide shows each one.
Geometric ordinaries behave the same way. A fess, a chevron or a saltire is a band you can cut in strips, with no curves to fight.
Cut the detail, keep the shape
Animals are the problem. A rampant lion has claws, a tongue, a mane and a tail, and every one of those is a thin spike that chips in stone and snaps in wood.
Redraw the beast as one solid silhouette with no gap narrower than your blade. Thicken the legs. Let the face be an outline rather than a portrait.
Charges with simple outlines travel best: a fleur-de-lis, a star, a key, a cross, a crescent. Coat of arms symbols lists the common ones and what they stand for.
Hold the tincture rule
Metal on color, color on metal. Keep the rule of tincture and the medallion stays legible under hall light and foot traffic. Break it and a dark charge on a dark field turns into a smudge seen from standing height.
Three or four materials is usually the practical limit before cutting and sourcing get out of hand.
Drop the parts that will not cut
Mantling, supporters, a helm and a crest all rely on fine shading or overlapping shapes. Most medallions keep the shield, sometimes a plain border ring, and a motto scroll with the letters cut wide. Parts of a coat of arms explains what you are setting aside.
Materials: tile, wood and stone
| Material | How it is cut | Best for | Watch out for |
|---|---|---|---|
| Porcelain or ceramic tile | Rented wet saw, tile nippers | A first attempt, entry halls | Grout lines read as outlines |
| Natural stone | Wet saw for straights, a waterjet shop for curves | Formal foyers | Marble etches and stains, polished stone can be slick |
| Stone or glass mosaic | Pre-cut tesserae, no shaping needed | Curved charges, shaded areas | Small pieces mean a lot of grout |
| Hardwood marquetry | Scroll saw or router with a template | Dry interior rooms | Wood moves with humidity, sun fades it |
| Vinyl plank or sheet | Utility knife | Budget, rentals, a trial run | Shallow wear layer |
| Terrazzo or epoxy | Poured between metal divider strips | Hard wear, sharp lines | Grinding is a trade job |
Two old crafts sit behind these choices. Flooring mosaic has used small cut pieces to build figures for centuries, and marquetry does the same thing in wood veneer. Terrazzo is the poured version, where brass strips hold each shape.
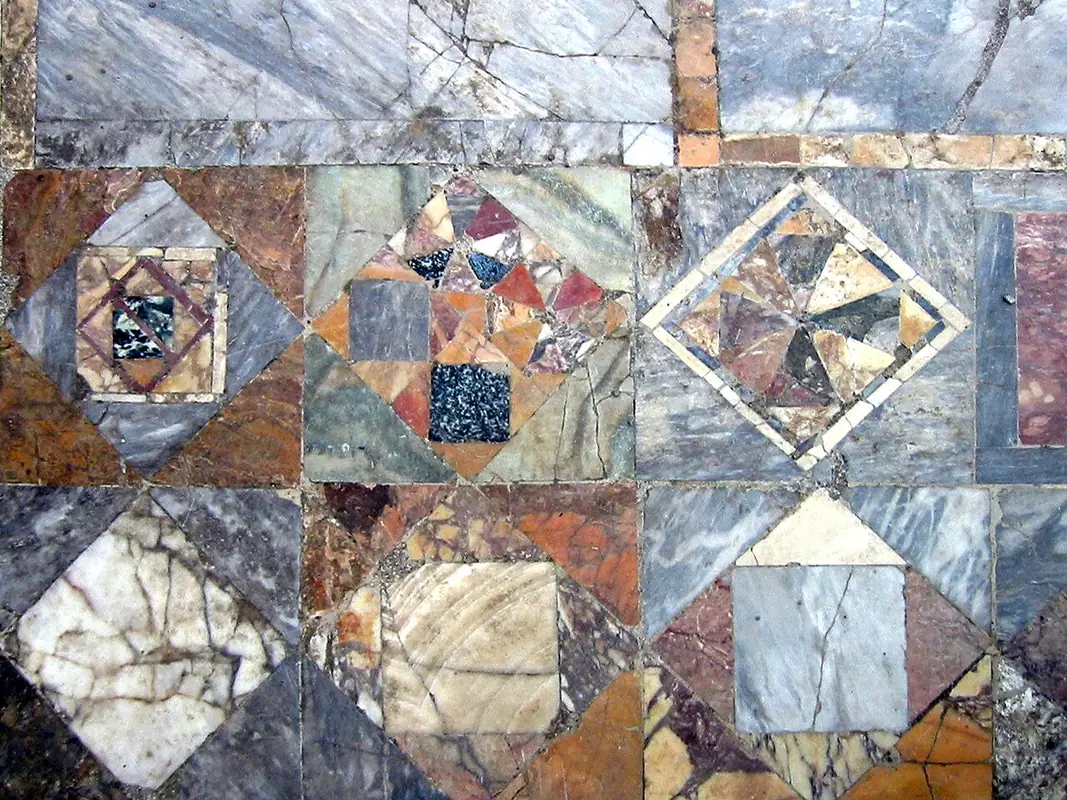
Cost depends on the material and on your local shops, so get two or three quotes. Waterjet and CNC work is usually priced by run time or by length of cut, which means every curve you remove from the design takes money off the bill.
How to make a coat of arms floor medallion, step by step
- Finish the design at full size and lock the colors before you buy anything. Export a vector file so it scales to the real diameter without going fuzzy. The best file format for printing a coat of arms explains why SVG or PDF beats a PNG here.
- Print a full size paper pattern. Tile the drawing across sheets at 100 percent, tape them together, then cut the pattern into one piece per material.
- Dry lay the paper on the floor and look at it from the doorway. This is the cheapest chance to find out the lion reads as a blob.
- Mark and open the host floor. Trace the outer circle, cut the existing tile or boards back to the line, and check the subfloor is flat and solid.
- Trace and cut each piece. Glue or tape the paper to the material, cut just outside the line, then grind or sand down to it.
- Dry fit the whole medallion face up on a bench or sheet of cardboard. Number the backs. Fix tight joints now, not after the mortar is down.
- Set the pieces from the center outward, keeping every face flush with the floor around it.
- Grout or fill, clean the surface, and let it cure as long as the product says.
- Seal it. Stone and cement grout both want sealer, and an entry is where grit and water land.
Practice helps. Printing the free coat of arms templates at letter size and cutting a paper version first shows you which shapes are going to be trouble.
Sealing and wear
Sealer is maintenance, not a one time step. Reapply on the interval the manufacturer gives for your traffic level, since a front hall wears faster than a study.
Wood needs a dry room and a finish you can recoat. Polished stone looks best and is the most slippery, so check the slip rating before you put it inside a door where people walk in wet.
Mistakes to avoid
- Judging the design on a screen. Print it full size and stand back.
- Too many tinctures. Each one is another material to buy, cut and match.
- Lines thinner than your blade. They will chip out.
- Forgetting grout color. Grout acts as an outline and changes how the whole shield reads.
- Centering on the room instead of on the sightline from the entrance.
- Setting arms in a floor that belong to someone else. Can I make my own coat of arms covers designing arms that are yours.
Design the medallion before you cut anything
Build the shield in the free maker at Coat of Arms Creator, simplify it to three or four tinctures, then download the SVG and scale it to the size of your floor. How to make a coat of arms walks through the maker itself, from field and division to charges and motto.
Frequently asked questions
What is a coat of arms floor medallion?
It is an inlay set into a floor that shows a coat of arms in cut pieces of tile, stone or wood rather than paint. Each tincture is a separate piece of material, cut to shape and fitted to its neighbors. The joints between pieces do the work that outlines do on a drawing.
Can you make a DIY floor medallion with a coat of arms?
Yes, if you simplify the design first. The usual home method is to print the arms at full size, cut the paper into one piece per color, trace those onto tile, stone or veneer, cut each piece, dry fit the whole panel, then set, grout and seal it flush with the floor around it.
How big should a floor medallion be?
Size it to the room and to the view from the doorway rather than to a standard. A panel a few feet across holds detail well in an entry hall or foyer. Below about two feet, thin shapes like claws, letters and narrow bands stop reading and are better left out of the design.
What material is best for a heraldic floor inlay?
Porcelain and ceramic tile are the most forgiving for a first attempt because they cut on a rented wet saw and shrug off entry traffic. Natural stone looks best and usually needs a shop with a waterjet for curves. Wood marquetry suits dry interior rooms but moves with humidity.